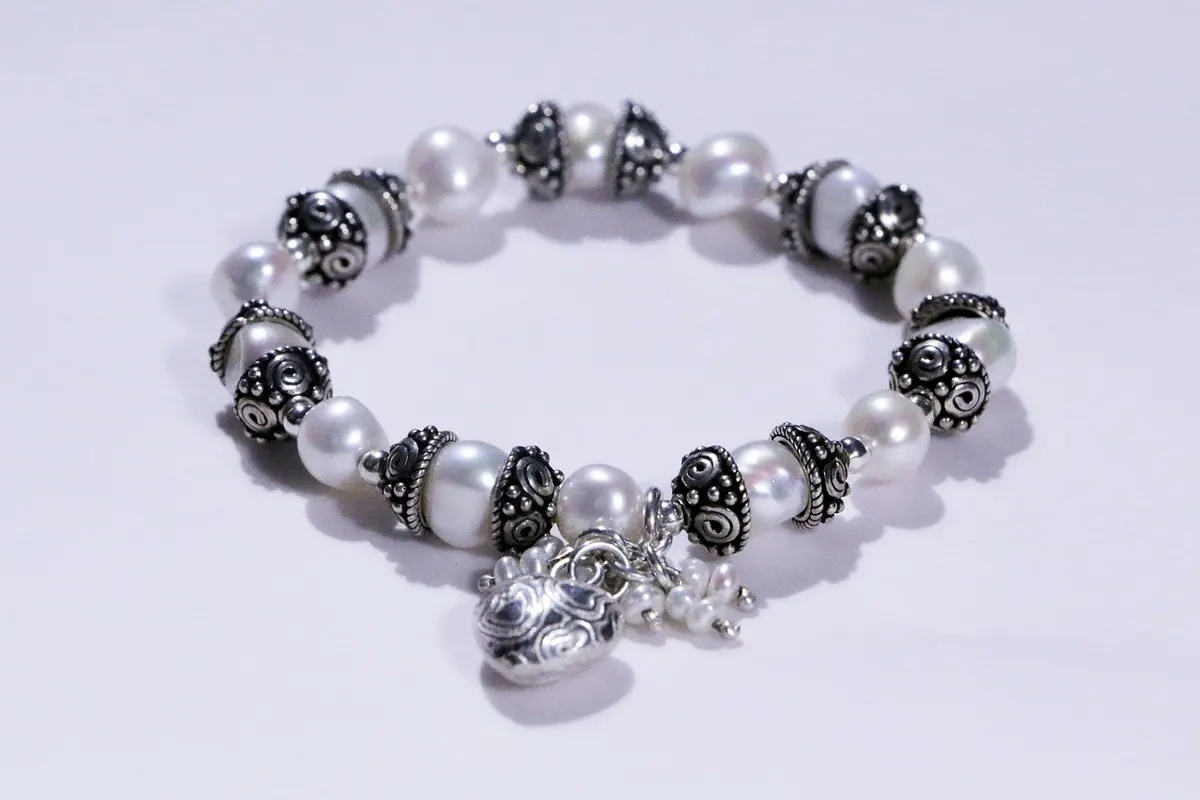
A charm bracelet is one of the few pieces of jewellery that genuinely improves with age. You start with an empty chain, add a charm for a birthday, a trip, a first flat, and within a couple of years you have something nobody else owns. The appeal isn't the metal. It's the story it collects. If you've never built one before, the choices can feel surprisingly fiddly: chain style, metal, charm size, spacing, and the clasp that has to hold the whole thing together. Here is how those decisions work, in the order you'll actually make them.
Start With the Chain, Not the Charms
Most people fall for a charm first, then go looking for something to hang it on. Do it the other way round. The chain sets the limits for everything that follows: how many charms it holds comfortably, how heavy it feels after a full day, and whether it survives being worn on a Tuesday.
The four chain styles worth knowing
- Snake chain: smooth and tubular, with tight links that make charms sit neatly in a row. Dressy and elegant, but it doesn't take clip-on charms well, so it suits soldered or threaded fittings.
- Curb chain: flat, interlocking links. The classic charm bracelet look, and easy to add to because most charms arrive with a jump ring ready to thread on.
- Cable chain: simple oval links, usually the most affordable and the most forgiving. A sound choice for a first bracelet, particularly if you plan to rearrange charms often.
- Bead or ball chain: small rounded beads with gaps between them, so charms can be positioned precisely and the texture hides everyday scratches.
Bangles with a fixed loop are lovely but leave no room to expand. If you suspect you'll keep adding, don't start there.
Choosing a metal you can live with
Sterling silver, marked 925, is the usual starting point: it's hard-wearing, easy to clean and takes a polish well. Gold-filled and vermeil pieces give you the look of solid gold for less, though the plating will thin over time, especially on a bracelet that knocks against a desk all day. Solid gold is softer and more expensive, and it will pick up small dents. Stainless steel is the toughest of the lot and a sensible pick for anyone who is hard on their jewellery.
If your skin reacts to base metals, look for nickel-free pieces and take the bracelet off at the first sign of redness or itching. Persistent irritation is worth mentioning to a pharmacist or doctor rather than pushing through.
Buying Charms You'll Still Like in Five Years
The best charm bracelets are not themed. They're accumulated. A charm should mark something you'd happily explain to a stranger: a tiny aeroplane for the first solo trip, a book for the evening course you finished, a paw print for the dog you rehomed. Buy one when something happens, not when you notice a gap in the chain. Fill a bracelet in a single shopping trip and you'll end up wearing a theme you didn't really choose.
Two practical checks before you buy. First, scale: charms that are wildly different in size can look accidental rather than deliberate, so keep them roughly similar unless you're mixing on purpose. Second, the fitting. Most charms use a jump ring, but some use a clip or lobster fitting designed for specific chains. If you're buying online, compare the inner diameter of the ring with the thickness of your chain — a charm that doesn't slide freely will hang at an awkward angle and catch on your sleeve.
Spacing, Balance and Wearability
An overloaded bracelet is heavy, noisy and forever swinging round to the wrong side of your wrist. A few rules keep it comfortable.
- Leave a centimetre or two of visible chain between charms if you want them to move freely. For a fully filled look, wait until you have enough charms to fill it evenly rather than clustering them at one end.
- Spread the weight. Put a heavy charm between two lighter ones instead of stacking all the substantial pieces together.
- Add roughly two centimetres to your wrist measurement for comfort, and a little more if you plan to keep adding. The bracelet should sit snug enough to stay put but still rotate.
- Wear it on your non-dominant wrist. Fewer knocks, fewer bent rings.
Assembling It: A Simple Order of Work
- Fit the chain first, with nothing on it. Fasten it and check how it drapes.
- Lay the charms out in a line on a flat surface and shuffle them until the weight looks even.
- Open each jump ring by twisting the ends sideways with two small pliers. Never pull a ring apart, as that weakens the metal.
- Attach charms one at a time and close each ring firmly, twisting back until the ends meet flush with no gap.
- Try the bracelet on after every few charms. Adjusting an almost-empty chain is far easier than a loaded one.
- Check the clasp. On a heavy bracelet, a lobster clasp or a box clasp with a safety catch is more secure than a plain spring ring.
If a fitting needs soldering, or the chain is vintage or valuable, hand it to a jeweller. It's a small job for them and an expensive mistake to rush at home.
Looking After It
Charm bracelets collect wear in the places you'd expect: the clasp, the jump rings, and the links that rub against a desk. A little routine goes a long way.
- Put the bracelet on last, once perfume, hairspray and moisturiser have dried.
- Take it off for showers, swimming, cleaning with chemicals, and bed if the charms catch on bedding.
- Clean it with warm water, a drop of mild washing-up liquid and a soft toothbrush, then dry with a soft cloth. Skip ultrasonic cleaners if any charm has an glued stone, enamel or pearl.
- Store it flat in a soft pouch or a lined box, away from other jewellery, so nothing tangles.
- Check the jump rings and clasp every few months. A worn ring can open on its own, and a lost charm rarely turns up.
Start With Three Charms, Not Ten
Buy a chain with room to grow, choose three charms that mean something specific, and wear it for a while. You'll learn quickly whether the length is right, whether the charms sit where you want them, and whether the clasp suits the way you move. The bracelet that gets noticed is rarely the one bought complete. It's the one that has been quietly added to for years, one occasion at a time.
Photo: jeandelafountain0 / Pixabay